
Wednesday, July 27, 2016


Tuesday, July 26, 2016

Monday, July 25, 2016

Wednesday, July 20, 2016


Monday, July 18, 2016

I chose to do my call to action poster on practice. When playing a musical instrument it is crucial to practice even when it gets so boring or hard! I chose a Orator Std Medium font because I thought it gave it that modern music Indy feel. I also changed on the case of some of the individual letters. I wanted to mix in the broken keys, because when practicing we usually get the first couple notes and then smash the piano keys mid way through the song.
Time. Typography Call to Action.

For my poster, I chose SWscripts. I picked the font because I wanted something that felt timeless. The font takes on a classic feel in contradiction with the modern world. I put the font in red because it is supposed to be the most noticeable color--it also contrasts the blue background. Red is a warning. The cursive takes us back to a time when the world was less digital, quick, and preoccupied.
Sunday, July 17, 2016
Typography Assignment

For my typography "call to action" assignment, I chose to highlight Nike. The Nike symbol is highly recognized on an international level. I chose to use the symbol to create a command. The call to action is to simply run. I used the same word to create the Nike logo. I found this font called "Big Calson Medium" and I seriously love it because it's simple, sleek, and powerful..just like Nike's image.
Call to Action Typography Poster
For this BYU performing arts group poster, I decided to stick with different professional but pretty fonts and italicized the fact that they travel worldwide to catch the viewers eye. I used the curving tool to make the heading and added an elliptical under the dancer to spotlight him. I used red because it compliments blue on the color wheel and kept things centered for balance. I also used different sizes to emphasize what's most important to what's least important.

Typography Activity - 3 Nephi 11

I created a typography image using the scriptures, with the call of action being to come unto the Savior. The text is taken from 3 Nephi 11, and is the Savior's literal call to action for the Nephites to come unto Him and see that He is the Son of God. The image I tried to create was the Savior descending out of heaven to the Nephite temple in Bountiful, with the text "Behold" and its accompanying ellipses representing the Savior, and the body copy at the bottom of the image representing the temple itself along with the gathered Nephite people. The font is all the same in the piece, but if you look closely, you'll see that the font representing the Savior is smaller than that on the temple, and that the temple font grows slightly larger with each level. I chose the Georgia font, because it seemed to closely resemble the font found in the scriptures.
Saturday, July 16, 2016
Typography Assignment - Poster

My idea comes from the classic game Pac-man. The heading that I use is "AR Destine" which gives a very transformer gaming feel. Whereas the typeface of the main message is more organic and child-like to match with the cute vegetables. After I created the poster, I felt like there is also a hidden meaning of encouraging people to reduce gaming time.
Wednesday, July 13, 2016


Call to action assignment

I choose to create a call to action for people to go paperless. I used a bold san serif font to grab the viewers attention. I then put where they could find more information in a handwritten font to allow for a personal touch. I used a little green as the background color to represent the color of trees. I add the image of a piece of paper to draw the viewers eyes to the extra information.


Sunday, July 10, 2016

Wednesday, July 6, 2016
Boys will be boys, and girls will be girls.
 |
| This is my husband. I cut out the background, I used various tools to change the black and white contrast, and I used the eraser to bring back the eye color. (SUBJECT) |

I played with the levels and contrast to create a really bright look. (POINT OF VIEW)

I wanted to emphasize the shoes, so I lightened the background. I darkened the shoes. I wanted to be sure that the worn down look of the boots stood out, and I think they do. (BALANCE)
Photography//Composition


These are kind of out of order, but the first picture is my husband and one of his friends at Bridal Veil falls. For me, this image displays balance because the gravel in the rocks and the streams of water falling in the waterfall play off of each other in an interesting way. I used the curve adjustment to darken the image yet brighten and enhance certain aspects of the photo so the details of the water and the rocks became more evident. I also loved the way the big rock on the left of the image balances out my husband and his friend on the right side of the image.
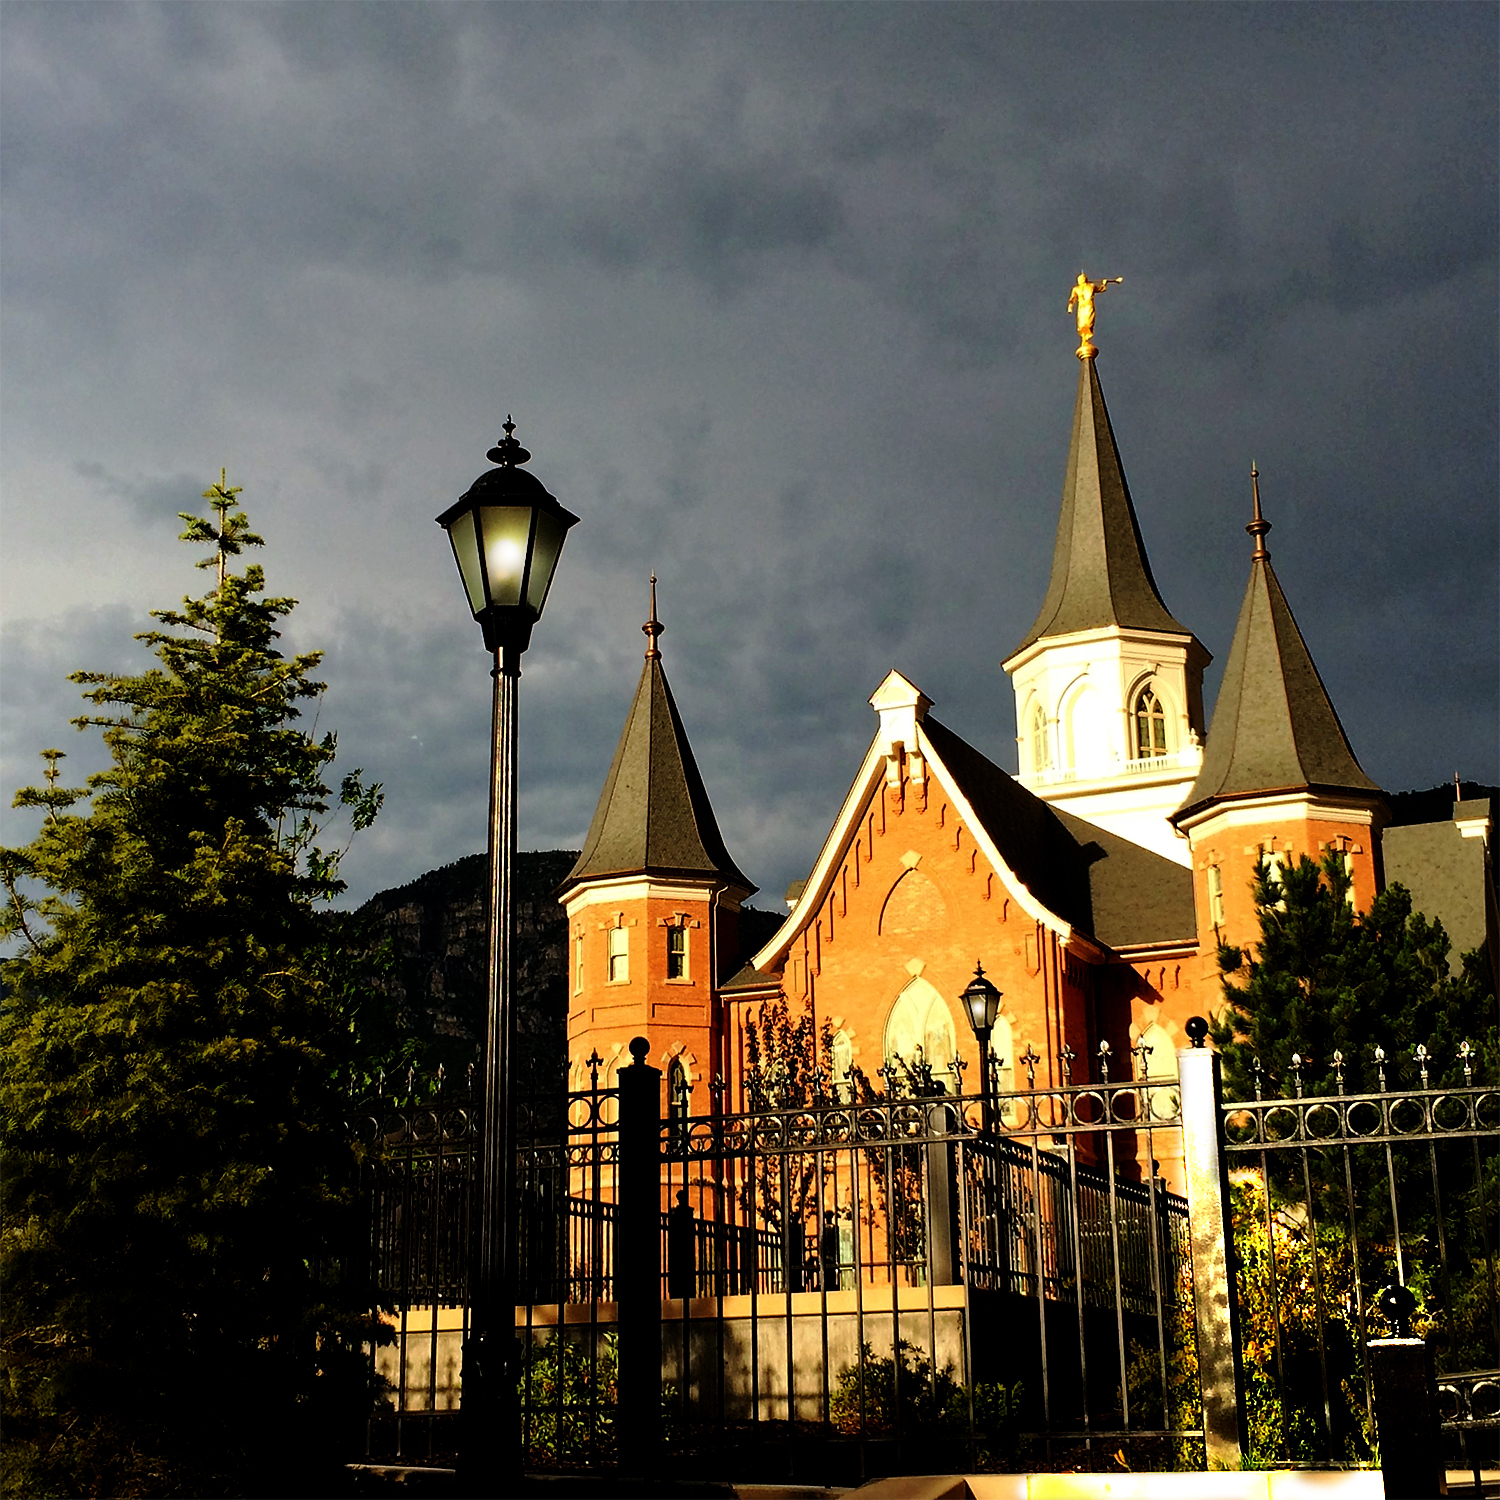
The second image is actually the point of view image. The tulips by the downtown Provo temple weren't actually that tall, but by shooting from beneath the tulips it really gave them a lot more presence in the image. I used the brush and the curve tool to select the tulip in the center and gave it a little more light. I then pulled out more red from this image. It was actually an accident when I created this reddish/pink hue, but I left it because I actually really liked the warmth it gave the photo.
The third image portrays the subject/background concept. I really thought about the 3/4 rule and aligned the diamond of my wedding ring in one of those corners. I made this image black and white because it dramatizes the photo immensly. I also used the brush tool to give more light to the actual diamond so it stands out a little more so we know it's the subject. I also used the curve tool on this image. Can you tell the curve tool is my favorite thing to play with?


Tuesday, July 5, 2016


Photoshop - Tyler


Photo 1 - Subject: I decided to have the majority of the shadows/dark portions of the picture solely on the statue, and lightened out the background so that while the background and surrounding rocks are important, the view is kept primarily on the statue.
Photo 2 - Balance: Staring at the rocks straight on they look a little out of place, but taking this view from the ground up provided a nice, balanced shot. I tweaked the red coloring in photoshop to hopefully make it a little more vibrant.
Photo 3 - Point of View: This isn't typically the view we see at the gas station. Mostly we just see what's between our vehicle and the pump. Taking this point of view opened up the scene, giving it an almost neo-noir feel. (The black and white definitely helped with that.)
Morgan-photoshop color project


I masked a subject/focal point in each photo and played with the color so it was edited separately from the background.
Photoshop


Photo #1: added text and changed the background color.
Photo #2: edited dirt and coloring of the wall and door.
Photo #3: transformed to black and white and adjusted specific colors.
Subscribe to:
Posts (Atom)